Installing a Verba Single Server solution
If you haven't already done so, please make sure all the prerequisites are installed for your Single Server. Refer to http://kb.verba.com/display/docs/Installing+the+required+prerequisites
The Single Server role combines the features and functions of a Verba Recording Server and Media Repository in one server. The management interface, system services, and recording functions will all run on the same server. If you don't use a separate SQL server, the database will be located on this server as well.
Please follow the steps below to install a Verba Single Server solution. Note that, all Installer components must be run as Administrator.
Step 1 - The install kit starts installing Verba components. Simply press the Next button to start the installation.
Step 2 - Read the Verba license agreement carefully before you click Next button.
Step 3 - Select the Single Server role from the list. Click Next.
Step 4 - Select the destination folder for Verba system and the desired location of the media files. You can change the default setting by clicking on the Change button and selecting another folder. If you have finished the destination folder configuration, press the Next button.
Drive root cannot be provided for the media folder (ex: D:\). A folder has to be created.
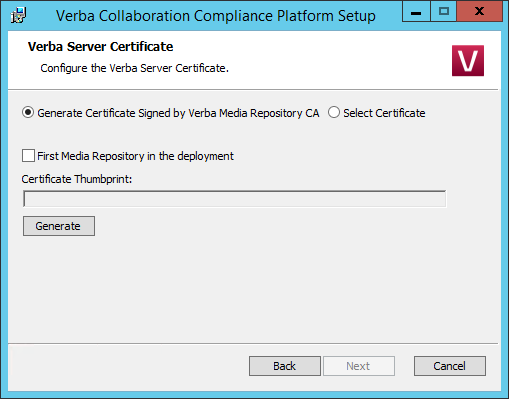
Step 5a - If the server is going to be the first Single Server (Media Repository) server in the deployment, and pre-generated certificates won't be used, then select the "Generate Certificate Signed by Verba Media Repository CA" option, and check the "First Media Repository in the deployment" checkbox. Click on the Generate button, and in the Generate the Verba Server Certificate window click Generate. Finally, click on the Next button. (If this option is being used, then Step 5b and Step 5c can be skipped.)
Step 5b - If the server won't be the first Singe Server (Media Repository) server in the deployment, and pre-generated certificates won't be used, then select the "Generate Certificate Signed by Verba Media Repository CA" option, then click on the Generate button. In the Generate the Verba Server Certificate window provide the address of the first Media Repository server, the administrator username and password, then click Generate. Finally, click on the Next button. (If this option is being used, Step 5c can be skipped.)
Step 5c - If there is an existing certificate from a previous Verba installation (in case of reinstall or upgrade), or a pre-generated certificate for the server exists (requested from a local or a 3rd party CA), then select the "Select Certificate" option, then click on the Browse button. If the server was a CA previously, then select the CA certificate also by clicking on the Browse button under the CA Certificate Thumbrint.
Certificates generated by Verba CA vs pre-generated certificates
In case of using the Verba-generated certificates, the first Singe Server (Media Repository) server becomes a CA also. During the installation of the other Verba components, the server certificates will be requested from this CA. This is done through the TCP port 443 with SSL. The server certificates and the CA certificate will be placed in the certificate stores of the servers automatically, to the Personal folder. The certificates generated by the Verba CA uses SHA512forthesignaturealgorithm,andRSA2048 for the public key.
If certificates are generated for the Verba servers in advanceusinganotherCA, then make sure that the certificates are placed into the certificate stores of the servers under the Personal folder, and the CA certificates are placed into the Personal or into the Trusted Root Certification Authorities folder. The only requirement for the server certificates is making the private key exportable.
Certificates generated by the Verba CA
Based on the Friendly Name of the certificates the server and the CA certificate can be identified easily. On the screenshot, the first one is the server certificate and the second one is the CA certificate.

Step 6.1 - The Verba installer is asking for the MS SQL Server connection details. These settings will be used for all Verba services on the server, and the same settings has to be used during the installation of the other Verba components also.
- Both SQL server based and windows authentication is supported. If a domain account will be used for the SQL connection, then select Windows Authentication. In case of windows authentication, the Account name has to be provided in UPN or domain\username format. Please provide a DB Creator role user account for the connection.
- The server name can be entered either as an IP address or an FQDN.
- The Verba database doesn't have to be created in advance. The installer will create a database with the name given in the "Database Name" setting, and build the schema.
- If SQL Mirroring is being used or AlwaysOn with Multi-Subnet failover, then a different SQL Driver has to be selected. In this case, the driver has to be installed on the server.
Step 6.2 - Click 'Test Connection' to verify your input.

Database connection troubleshooting tips
- Try to ping the database server. Try to connect to the 1433 port on the database server. (telnet or Test-NetConnection)
- Check if the user has the necessary roles assigned, refer to SQL Server requirements for more information.
- If Windows Authentication used then check if the user has the Local Administrator group membership and the 'Logon as a service right'.
- Check if the correct instance name is provided at the SQL Server name. If there are multiple instances, then the SQL Server Browser service must run on the SQL server side.
- If you installed SQL Server Express Edition, then check if the TCP/IP protocol is enabled under the SQL Server Network Configuration in the SQL Server Configuration Manager.
Step 6.3 - If the test was successful, click on the Execute button. The installer will start executing the scripts on the database, so it created thte database schema. In the case of upgrade, the installer upgrades thte existing schema. The script log will be save to C:\Users\[user]\AppData\Local\Temp\ folder. If an error occours during the script execution, it can be restarted by closing the window, then clicking on the Execute button again in the installer window.
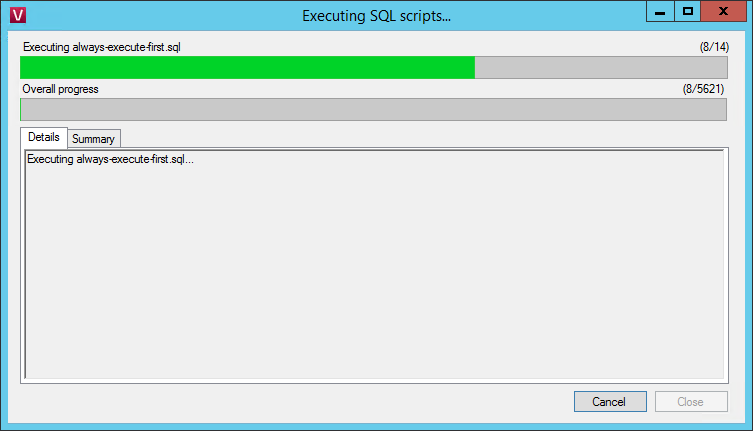
Step 6.4 - Click on the Close button. In the installer window, click Next.
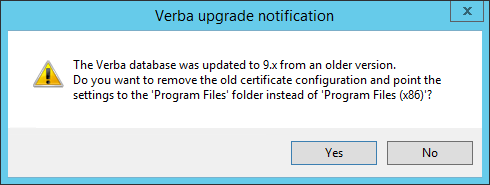
Upgrading from Verba 8.x to Verba 9.x
From version 9.0, the Verba software changed to x64 platform from x86, and also introduced a new Windows certificate-based secure API for the internal connection between the Verba services. When upgrading from Verba 7.x or 8.x, the installer offers changing the configuration stored in the database according to the new settings. In this case, all settings pointing to the "Program Files (x86)" folder will be changed to "Program Files", and all settings related to the old security configuration will be removed.
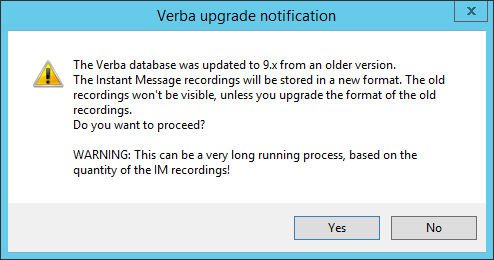
The installer also offers upgrading the schema of the IM recordings. If this step is skipped, then the old recordings won't be visible in the Verba web interface.
Note that this step can take hours to execute!
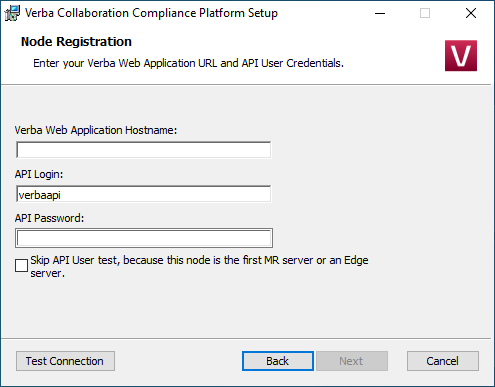
Step 7 (Reinstall/Upgrade) - In the case of a reinstall or upgrade, the installer will ask for API credentials. If this the first Single Server in the deployment, then just tick "Skip API User test, because this node is the first MR server or an Edge server." option, then click Next.
Step 8 - Please specify the ports for running the Verba web server. Click the Test Connection button to check if they are free. If one of them is taken you will be asked for another port number (you are not allowed to run more than one HTTP server on the same port). It is recommended to use the default 80 and 443 port numbers. If successful, click Next. In the case of an upgrade, the test can be skipped.

Step 9a - If this is a new Verba installation, and there is no pre-created SSL certificate for the HTTPS connection, then select the "Generate Self-signed Certificate" option, then click on the Generate button. In the "Generate the Verba Web server SSL Certificate" window, enter a password for the certificate, provide the Subject Alternative names, then click Generate. In this case a verba-tomcat.crt and a verba-tomcat.key file will be generated in the C:\ root. Click on the Next button. (If this option is being used, then Step 9b can be skipped)
Step 9b - If this is not a new Verba installation (in case of reinstall or upgrade), or there is a pre-created SSL certificate for the HTTPS connection, then select the "Select Certificate" option. Under the Certificate Path, click on the Browse button, and provide the .crt file. Under the Certificate Key Path click on the Browse button, and provide the .key file. Provide the password of the SSL certificate. Click on the Next button.

Subject Alternatives Names for the SSL Certificate
To make sure that the browser always going to trust the certificate, provide every possible address at the Subject Alternative Names. The recommended addresses are:
- The hostname of the server.
- The FQDN of the server.
- The IP address of the server.
- "localhost"
- Aliases
- If load-balancer is being used, then it's hostname, FQDN and IP address.
Certificates in .pfx or .p12 format
If the SSL certificate is in .pfx or .p12 format, then it has to be converted to a pair of .crt and .key files. For the conversion process, please refer to the "Creating .key and .crt files from .p12 or .pfx file" section in the Installing an SSL certificate for HTTPS access article.
Step 10 - Please specify a free port for the Verba storage server. Use the Test Connection button to check the port's availability. If successful, click Next. In the case of an upgrade, the test can be skipped.

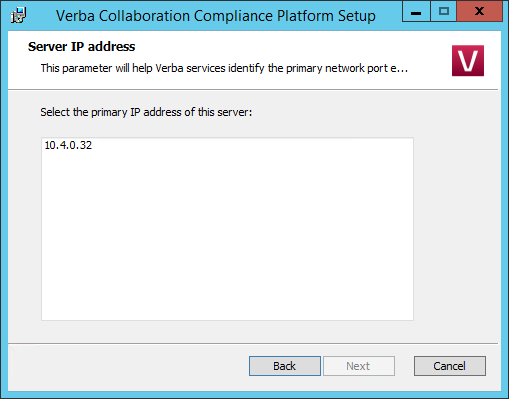
Step 11 - Select the primary IP address of the server from the list, then click Next.
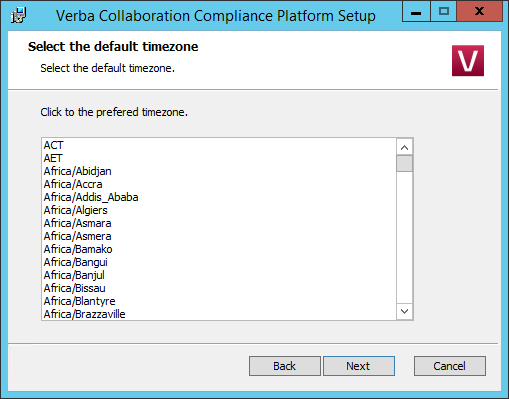
Step 12 - Select the desired time zone from the list, then click Next.
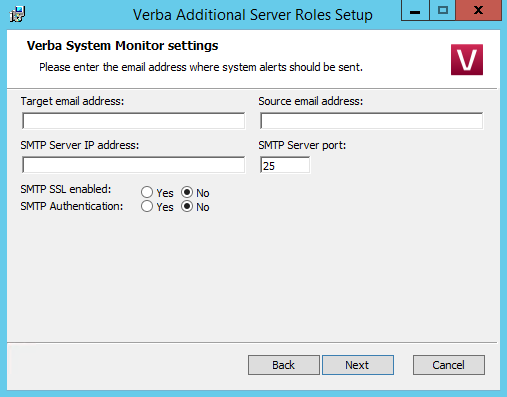
Step 13 - Please provide a target email address, a source email address and an SMTP server address for system alerts. If authentication required then please enter the credentials. The target email address will receive alerts concerning the various services of the recording system. This step can be skipped and the details can be provided or modified after the installation. When you are done, click Next.
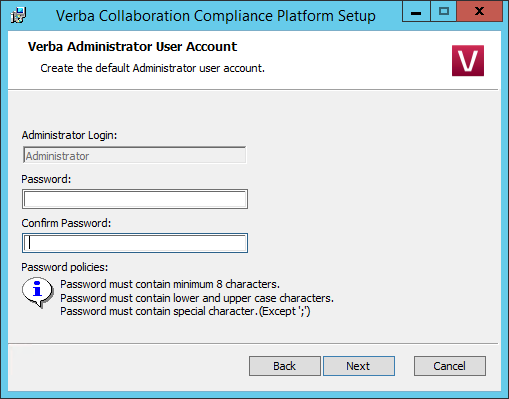
Step 14 - Enter a password for the Administrator login then click Next.
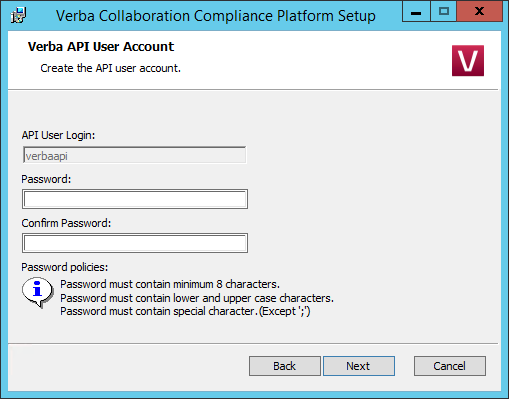
Step 15 - Enter a password for the Verba API user then click Next. Note that this user going to be required at the installation of the other Verba components.
Step 16 - Click Next again to start installing the services. When it's done, click Finish to exit the installer.