Bulk user import
The bulk user import feature is designed to help administrators (the administrator and the system administrators) in adding several users to the system using only a few mouse clicks (e.g. during the initial installation). This feature provides limited capability for modifying users as well.
In order to import users from the above-mentioned sources, select Administration / Bulk User Import from the menu. The User Import Wizard appears.
Select data source
As a first step, you have to select the source for the import. Simply click on the desired item and click on the Next button.
The following picture shows the User Import Wizard, where you select a source media for the import:
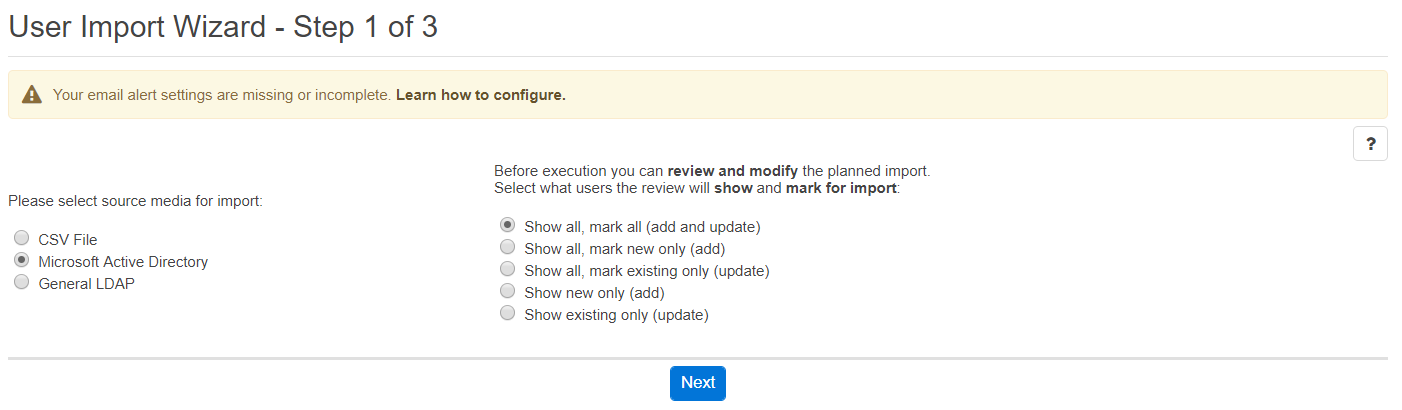
Configure the data source
This step of the User Import Wizard is different for each supported data source:
Verify the import
The final step of the User Import Wizard gathers all available information for the previously defined source.
Depending on the applied source, not all fields are filled in automatically. e.g.Cisco Unified Communications Manager DC Directory does not contain language settings for a given user. In order to help administrators quickly define missing parameters for all users, the top of the page contains functions to modify all entries at once. You only have to define the field, which you want to set and then by pressing the Modify button, the page will be reloaded with the modified information.
You can also modify all entries one by one.
Before importing the users into the Verba database, if any modifications were completed, you have to save the changes by pressing the Enforce Changes button. If your list contains more than 100 records, you can move between the pages, but be careful, because modifications done on a page will be lost by moving to another page (if Enforce Changes button was not pressed).
When you are ready, simply press the Start Import button.
After the import operation, you will be directed to a page describing the result of the operation.